
Flower pounding art is a fun and creative activity that can help develop fine motor skills in children. By pounding flowers between two pieces of paper to create unique patterns, kids can cultivate their creativity while also improving hand-eye coordination and dexterity. This activity not only allows children to explore different textures and colors but also helps them think outside the box when it comes to art-making. If you’re looking for a way to encourage your child’s creative expression and fine motor development, flower pounding is definitely worth trying. In this article, we’ll share some tips and tutorials on how to get started with flower pounding art, including the best flowers to use and techniques to achieve professional-looking results by the end of it, you’ll have the confidence to set up a fun and creative flower pounding station for your child.
What is Flower Pounding Art?
Flower pounding art is a unique and fun technique that involves using real flowers to create beautiful, textured paintings. Let’s learn how it all works!
Introduction to Flower Pounding
Flower pounding art is a unique and fascinating way to create beautiful artworks using real flowers. The process involves pounding fresh or dried flowers between two surfaces to release their natural dyes and create a one-of-a-kind design. This ancient technique has its roots in various cultures, including Asian and African traditions, where it was used to create intricate patterns on fabric.
The benefits of flower pounding art are numerous. Not only is it an eco-friendly activity that reduces waste, but it also encourages children to explore nature and appreciate the beauty of flowers. By using real flowers, kids develop their fine motor skills through the pounding process, which helps improve hand-eye coordination and dexterity. Moreover, flower pounding art allows children to express themselves creatively, promoting self-confidence and imagination.
To get started with flower pounding art, you’ll need a few basic tools, including a mortar and pestle or a specialized flower pounding tool, along with some fresh or dried flowers. It’s essential to choose flowers that are suitable for the process, such as marigolds, sunflowers, or lavender. With patience and practice, kids can create stunning artworks that showcase their creativity and connection with nature.
Benefits of Flower Pounding for Kids
Flower pounding is an engaging activity that offers numerous benefits for children. One of the primary advantages is its ability to enhance fine motor skills. As kids crush flowers between a tool and paper, they develop dexterity and hand-eye coordination. The repetitive motion helps build finger strength and precision, essential for tasks like writing and drawing.
In addition to physical development, flower pounding fosters creativity. Children are encouraged to experiment with different techniques, such as varying the amount of pressure or using multiple colors. This process allows them to express themselves uniquely and develop problem-solving skills. Moreover, the immediate visual feedback from the pounded flowers enables kids to see the direct result of their actions, which is an effective way to promote creativity.
To maximize the benefits for your child, consider setting up a flower pounding station with various tools and materials. Encourage experimentation and exploration, allowing them to discover new textures and colors. By engaging in this activity regularly, you can help your child develop essential fine motor skills, hand-eye coordination, and creativity while having fun and enjoying the process of creating something unique.
Materials Needed for Flower Pounding Art
To get started with flower pounding art, you’ll need a few essential supplies that can help bring your child’s creativity to life. Let’s take a look at what materials you should have on hand.
Essential Tools and Materials
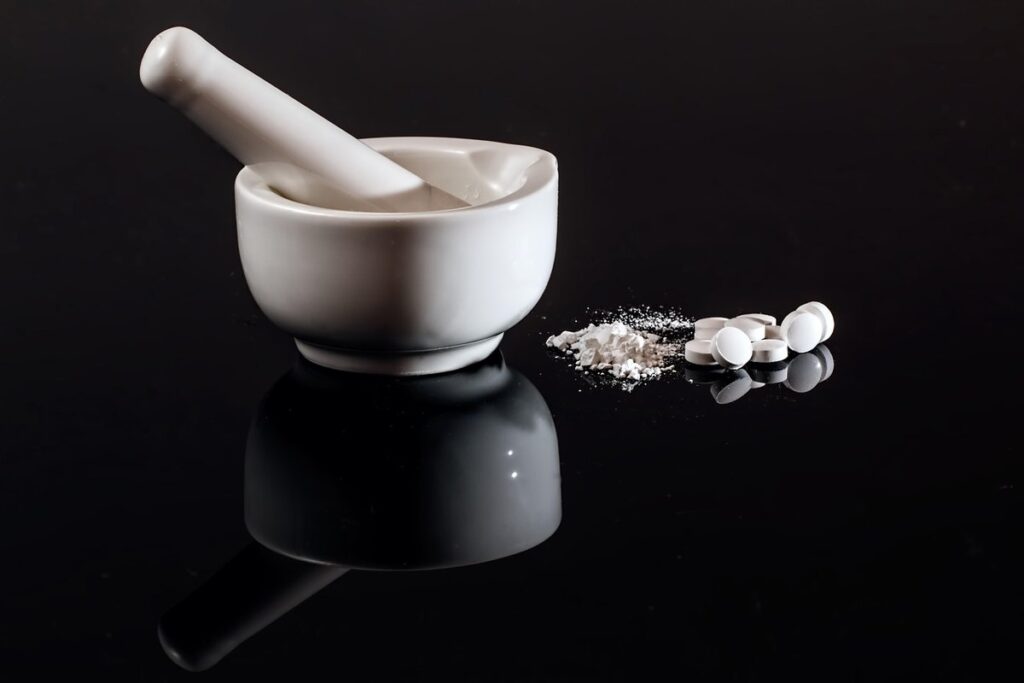
You’ll need a few essential tools to get started with flower pounding art. The most critical item is a mortar and pestle, which can be found at most craft stores or online. This tool allows you to gently pound the flowers without damaging them. A granite or ceramic mortar and pestle are good options as they won’t react with the plant material.
You’ll also need a variety of flowers in different colors and textures. Some popular choices include lavender, marigold, and hibiscus. Fresh flowers work best for flower pounding art, but dried flowers can be used if you don’t have access to fresh ones. It’s essential to choose flowers that are free from pesticides and other chemicals.
Other necessary materials include watercolor paper or a similar absorbent material, a rolling pin or other blunt object for pounding the flowers, and a sponge or cloth for blotting excess juice. You may also want to have some gloves on hand to protect your hands from stains.
Tips on Choosing the Right Flowers
When selecting flowers for flower pounding art, it’s essential to choose varieties with vibrant colors and delicate petals. Opt for blooms like marigolds, sunflowers, or zinnias, which will create unique textures and patterns on the paper. Avoid using flowers with thick, waxy petals, such as succulents, as they won’t produce the desired effect.
Consider the color palette you want to achieve in your artwork when choosing flowers. Pastel-hued blooms like baby’s breath or lavender can add softness and subtlety, while bright, bold flowers like dahlias or gerbera daisies create a more vibrant statement.
If you’re using leaves for added texture and interest, choose varieties with distinctive veins or patterns, such as maple or eucalyptus. These will add depth and visual appeal to your artwork. When selecting flowers and leaves, consider their size and shape as well. Smaller blooms like pansies or violas work best for detailed designs, while larger flowers like peonies or roses can create stunning backgrounds.
Remember to use fresh, fragrant flowers for the best results in flower pounding art.
Creating Flower Pounding Art: Techniques and Tutorials
Now that you have a basic understanding of flower pounding art, let’s dive into some fun techniques and tutorials to create beautiful pieces with your kids. We’ll cover various methods for adding color and texture to your designs.
Basic Flower Pounding Technique
To begin flower pounding, you’ll need to prepare both the flowers and mortar and pestle. Start by selecting flowers with a high water content, such as pansies or lavender, which will yield more vibrant prints. Gently rinse the flowers under cold running water to remove any dirt or debris.
Next, place the flowers between two sheets of paper towels or cloth to absorb excess moisture. This step is crucial in preventing the mortar and pestle from becoming too soggy during the pounding process. Once the flowers are dry enough, you can proceed with the actual flower pounding technique.
Now, let’s talk about preparing your mortar and pestle. Choose one that’s specifically designed for grinding herbs or spices – these typically have a slightly larger size to accommodate the flowers. Before adding the flowers, give the mortar and pestle a quick rinse with cold water to remove any residual flavors or scents. This will ensure you get the most out of your flower pounding experience.
To start pounding, place one flower between the two surfaces of the mortar and gently begin moving it around in a circular motion. As you pound, the flowers’ essence will be released onto the paper below, creating a unique print.
Advanced Techniques for Experienced Artists
For experienced artists looking to take their flower pounding art to the next level, there are several advanced techniques to explore. One way to add depth and interest is by layering different colors and textures. This can be achieved by applying multiple layers of paint or ink between each pounding session, allowing for unique blending effects.
To create intricate designs, artists can use stencils or masks to protect specific areas from the pounding process. This technique requires precision and patience but yields impressive results. Experimenting with different flower types, such as delicate petals or bold, statement blooms, can also add visual variety.
Another approach is to combine flower pounding with other art forms, like collage or paper quilling. This fusion of techniques allows artists to push the boundaries of traditional flower pounding and create truly one-of-a-kind pieces. By incorporating new materials and methods, experienced artists can continue to innovate and grow within this creative activity.
Safety Precautions and Tips for Working with Flowers
When working with flowers, it’s essential to take some basic safety precautions to ensure you’re creating a fun and accident-free experience for your kids. Let’s cover some simple tips on handling flowers gently and safely.
Handling Flowers Safely
When working with flowers, it’s essential to handle them safely to avoid any potential health risks. Some children may have allergies to certain plant species, such as ragweed or chrysanthemums, which can cause skin irritation, itching, and respiratory issues. If you’re unsure about a specific flower’s allergenic properties, consult with a parent or guardian before proceeding.
When handling flowers, encourage kids to wash their hands thoroughly after touching the petals or stems. This will prevent any potential allergens from coming into contact with their skin. Additionally, ensure that children wear long-sleeved shirts and pants when working with flowers to minimize exposure to potential allergens.
To safely handle flowers, teach kids to gently pinch or hold the stem between their fingers, rather than touching the delicate petals. This will prevent accidental bruising or damage to the flower. When placing flowers into a pounding device or onto a work surface, supervise children closely to ensure they’re not applying too much pressure, which can cause the flowers to burst and release potential allergens.
If you notice any signs of an allergic reaction in a child, such as hives, itching, or difficulty breathing, seek medical attention immediately.
Storing and Preserving Flower Pounded Art
To preserve flower pounded art, start by letting it air-dry completely. This can take anywhere from a few days to a week, depending on the thickness of the design and the humidity level. Once dry, frame the artwork as soon as possible to prevent damage or fading.
When storing framed artworks, keep them away from direct sunlight, moisture, and extreme temperatures. Consider using UV-filtering glass or acrylic to protect the flowers from fading. You can also store unframed designs in a protective folder or envelope to prevent bending or creasing.
For long-term preservation, consider gifting or displaying finished artworks as soon as possible. This way, you can enjoy them for years to come without worrying about their condition. If you need to store the artwork temporarily, use acid-free paper and avoid touching the surface of the design to prevent oil from your skin causing damage.
To ensure your flower pounded art remains vibrant and colorful, avoid exposing it to direct sunlight for extended periods. This can cause fading or discoloration over time. Regular cleaning with a soft brush and gentle dusting will help maintain its appearance.
Displaying and Sharing Flower Pounding Artwork
Now that you’ve created your beautiful flower pounding artwork, it’s time to showcase it proudly by displaying and sharing it with others. You’ll love these fun ideas for presenting your creations!
Ideas for Displaying Finished Artworks
When it comes to showcasing finished flower pounding artworks, you have a variety of options to choose from. Consider framing your child’s artwork as a way to preserve and display their creation. You can use a standard picture frame or get creative with a handmade wooden or decorative frame that adds an extra touch.
Another idea is to create a gallery wall featuring multiple flower pounding artworks in various sizes and shapes. This not only showcases the child’s artistic skills but also creates a visually appealing display. Alternatively, you can turn their artwork into a piece of home decor by attaching it to a canvas or a wooden panel.
For a more unique presentation, consider creating a shadow box with a depth that allows for three-dimensional elements like flowers, leaves, or other natural materials used in the flower pounding process. This adds an extra layer of interest and texture to the artwork. You can also use a clear plastic or glass frame to create a sense of depth and dimensionality.
When choosing a framing option, consider the child’s personality and style, as well as the overall aesthetic you want to achieve.
Encouraging Kids to Share Their Creations
When kids create something they’re proud of, it’s natural to want to share it with others. Displaying their flower pounding art can be a great way to encourage them to share their creations. Consider displaying finished artworks in the classroom or at home, where they can be admired by family members and friends. You could also set up a special art gallery in your child’s room, complete with labels and descriptions of each piece.
To take it to the next level, involve your child in the display process. Ask them to choose which pieces go on display and how they want to arrange them. This will help them feel more invested in sharing their artwork. You could also create a “Artist of the Month” or “Featured Flower Pounding Artwork” section, where you highlight one piece each month.
Some other ideas for encouraging kids to share their creations include:
- Creating a special album or scrapbook to store and display their artwork
- Hosting an art show or exhibition at home or school
- Sharing photos of their artwork on social media or with family members who live far away
- Encouraging them to write a short story or poem about the artwork they created
Conclusion: Celebrating the Beauty of Flower Pounding Art
As we come to a close, let’s take a moment to appreciate the creativity and joy that flower pounding art has brought to your child’s life. It’s been wonderful seeing their artistic expressions bloom!
Recap of Key Takeaways
Flower pounding art offers a unique blend of creativity, fine motor skills, and sensory exploration that’s perfect for kids. By incorporating flower pounding into their artistic endeavors, children can develop an appreciation for nature and the beauty of impermanence. The process itself is meditative, allowing kids to fully engage with the flowers as they crush and release their essence onto paper.
Key takeaways from this article include the importance of using high-quality, fragrant flowers like roses or lavender for optimal results. We also discussed basic and advanced techniques, such as layering petals and experimenting with different pressures. Handling flowers safely was another crucial aspect to cover, including proper storage and disposal methods.
To encourage kids to share their creations, consider displaying them in a special “flower pounding gallery” at home or school. This can be as simple as pinning the artworks on a board or creating a small exhibit with accompanying descriptions. By doing so, children not only develop their fine motor skills but also learn about the value of creativity and self-expression.
Encouragement to Try Flower Pounding at Home
As you’ve explored the world of flower pounding art with your kids, we hope you’re now inspired to continue creating and experimenting together. Flower pounding is a fun and accessible activity that brings joy to children as they explore texture, color, and creativity. It’s amazing how easily a simple process like pounding flowers can become a memorable bonding experience between parent and child.
One of the best things about flower pounding art is its flexibility – you can try it with various types of flowers, leaves, and even branches. Experimenting with different materials will help your kids develop their observation skills and learn to appreciate the unique characteristics of each plant. Encourage them to mix and match different textures to create one-of-a-kind artworks that reflect their personality.
To get started at home, gather a variety of flowers, a hammer or mallet, and some paper or fabric. Set aside time for your child to experiment with pounding flowers, and be prepared to join in on the fun! You might be surprised by the beautiful artwork that emerges from this simple process. With patience and practice, flower pounding art can become a regular creative outlet for you and your kids.
Frequently Asked Questions
What if My Child Is Allergic to Flowers?
Yes, flower pounding art can be adapted for children with allergies by using artificial flowers or paper petals. You can also use hypoallergenic materials like silk or cotton flowers. Be sure to consult with a medical professional before introducing new materials.
How Long Does It Take to See Results in Fine Motor Skills Development?
Fine motor skills development through flower pounding art is cumulative, and progress may vary depending on individual children’s needs and practice frequency. With consistent effort, you can expect noticeable improvements within 2-6 weeks of regular activity.
What If I Don’t Have a Mortar and Pestle? Can I Use Other Tools?
While a mortar and pestle are ideal for flower pounding art, you can experiment with other tools like a rolling pin or a large glass to achieve similar effects. However, be cautious not to damage your work surface or the flowers.
How Do I Store and Preserve My Child’s Flower Pounded Artwork Long-Term?
To preserve flower pounded artwork, consider framing it under UV-filtering glass to prevent fading. You can also use acid-free materials for storage and handling to ensure longevity. For long-term display, consider rotating artworks every 2-3 months to avoid exposure to direct sunlight.
Can I Use Fresh Flowers or Do They Have to Be Dried?
Both fresh and dried flowers can be used in flower pounding art, but keep in mind that fresh flowers will eventually wilt and lose their color. Dried flowers offer longer-lasting results but may require additional preparation steps before use.