Drawing with pens can be both therapeutic and rewarding. Not only does it allow for precise control over lines and shapes, but it also enables artists to achieve intricate details and textures that would be difficult or impossible with other mediums. However, mastering the art of drawing with pens takes time and practice. It begins with choosing the right tool – a pen that suits your personal preference in terms of line width, ink flow, and comfort.
The choice of paper is also crucial as it affects how the ink flows onto the surface. A good understanding of basic techniques such as hatching, cross-hatching, and stippling can then be built upon with more advanced methods like gestural drawing and expressive lines. Regular practice and experimentation are key to improving your skills and unlocking new possibilities in pen drawing. By the end of this article, you’ll have a solid foundation in drawing with pens and know how to continue honing your craft.
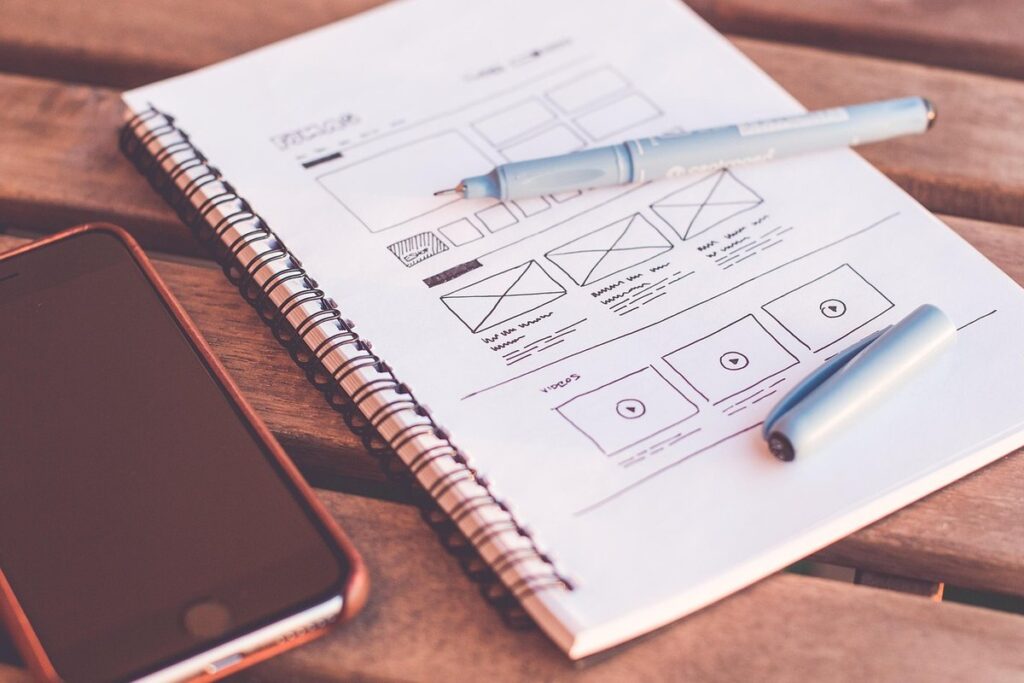
Choosing the Right Pen for You
When it comes to creating art with pens, selecting the right tool is crucial – a good pen can make all the difference in your drawings. Let’s start by exploring the factors that’ll help you choose the perfect pen for your needs and style.
Understanding Pen Types and Materials
When it comes to drawing with pens, understanding the different types and materials can make a significant difference in your results. There are three main categories of pens: dip pens, fountain pens, and rollerball pens.
Dip pens, also known as nib pens, use a metal nib that is dipped into an inkwell to write or draw. They’re often preferred by artists who value the expressive qualities of traditional media. Fountain pens, on the other hand, use a reservoir of ink within the pen itself, which flows through a small opening called a nib to create lines. Rollerball pens use water-based ink and a small metal ball to produce smooth lines.
The materials used to make pens also play a crucial role in their performance. Metal pens are durable and resistant to wear, but can be heavy and cold to hold. Plastic pens are lightweight and affordable, but may not provide the same level of precision as metal or wood. Wood pens, often made from sustainable sources, offer a unique aesthetic and tactile experience, but may require more maintenance than other materials. When choosing a pen, consider your personal preferences and drawing style to select the one that best suits you.
Considering Ergonomics and Comfort
When choosing a pen for drawing, it’s easy to overlook the importance of ergonomic design. However, a well-designed pen can make a significant difference in your overall drawing experience. A comfortable grip size is crucial, as it allows you to hold the pen without straining your hand or wrist.
The balance and weight distribution of a pen also play a critical role. A pen that’s too heavy or top-heavy can cause fatigue and discomfort during extended periods of use. On the other hand, a pen with a balanced design will allow you to draw for longer without feeling fatigued.
Some pens are designed specifically with ergonomics in mind, featuring contoured grips and weight distribution systems that reduce strain on the hand and wrist. These pens can be especially beneficial for artists who work on large projects or spend extended periods drawing.
When shopping for a pen, pay attention to these ergonomic features. If possible, try out different pens to see which one feels most comfortable in your hand.
Basic Techniques for Drawing with Pens
Let’s start with the basics: mastering essential techniques is crucial for creating smooth lines, varying line weights, and adding texture to your pen drawings. We’ll cover the fundamental methods you need to get started.
Mastering Line Art and Hatching
To create effective line art and hatching with pens, it’s essential to understand how to vary line widths. This can be achieved by adjusting the pressure applied to the pen tip. For example, applying gentle pressure will produce a fine line, while increasing pressure will result in a thicker line. Experimenting with different pressures can help you achieve a range of line weights.
In addition to varying line widths, texture is another key aspect of line art and hatching. To create texture, focus on the direction and flow of your lines. For instance, using short, expressive strokes can suggest rough or organic textures, while longer, more fluid strokes can indicate smooth surfaces.
When it comes to achieving different effects, consider the type of pen you’re using. Fine liners are ideal for creating detailed work with precise lines, while brush pens offer a range of line widths and flexibility. To add depth to your hatching, try layering lines of varying thickness and texture. This can help create a sense of dimensionality and visual interest.
By mastering the techniques of line art and hatching, you’ll be able to add more nuance and expressiveness to your pen drawings.
Shading and Gradient Techniques
When working with pens to create shading and gradients, it’s essential to understand how to achieve smooth transitions between values. To start, you’ll want to practice varying line weights and hatching patterns to build a sense of depth and dimension.
One technique for creating subtle gradations is to use a range of fine lines in different directions. For example, you can create a soft gradient by layering short, gentle strokes that increase in length as they approach the lighter area. This creates a smooth transition between values without any harsh lines or edges.
To take your shading and gradients to the next level, experiment with using different pen tips and nib sizes. A finer tip will allow for more precise control over line width, while a larger nib can produce softer, more expressive strokes. You can also use stippling – small, closely spaced dots that blend together to form a solid area of color or tone.
When creating gradients, consider the 60-30-10 rule: divide your composition into 60% of the dominant value, 30% of the secondary value, and 10% of an accent value. This balance will help create visual interest and guide the viewer’s eye through the drawing.
Advanced Pen Drawing Techniques
As you refine your pen drawing skills, it’s time to explore more complex techniques that will add depth and nuance to your artwork. You’ll learn how to master bold lines, subtle shading, and intricate details.
Using Ink Flow and Bleed for Effect
Creating expressive strokes is a key aspect of manipulating ink flow and bleed. By varying line weight, you can convey different emotions and moods in your artwork. For instance, thin lines can be used to depict delicate details or subtle textures, while thicker lines can add depth and emphasis to a subject.
Line variation can also be achieved by adjusting the angle of attack for your pen strokes. Experimenting with different angles can produce unique visual effects, such as creating soft edges or sharp contrasts. When working with certain inks, it’s essential to consider their properties – some may bleed more than others, affecting the overall appearance of your drawing.
One approach is to intentionally exploit the bleeding properties of an ink by using a light touch and gentle strokes. This can create a sense of atmosphere or depth in a scene. Conversely, you might want to minimize bleed altogether when working with fine details or small lines. In this case, using a pen with a more viscous ink or applying pressure carefully can help achieve the desired results.
To get started, try experimenting with different line weights and angles on simple exercises like gesture drawings or quick sketches.
Mixing Media and Experimentation
Combining pen drawing with other media can lead to unique and captivating results. Watercolor and ink are a classic combination, with watercolor’s fluidity providing a beautiful contrast to the bold lines of pen work. For example, using a fine-tip pen to create intricate details or textures before adding washes can add depth and visual interest to your artwork.
When experimenting with mixed media, it’s essential to consider the properties of each material. Ink flows and bleeds differently on various paper types, so you may need to adjust your technique accordingly. Digital art can also be incorporated into pen drawings by scanning or photographing your work and editing it digitally. This allows for further refinement and enhancement.
Experimentation is key in mixed media and pen drawing. Don’t be afraid to try new combinations of materials and techniques. Some artists even use digital painting software to create backgrounds or textures before adding pen work on top. The possibilities are endless, and the results can be stunning. By pushing the boundaries of traditional pen drawing, you can unlock fresh perspectives and styles that elevate your art to the next level.
Tips for Improving Your Pen Drawing Skills
Developing muscle memory and fine-tuning your technique is key to creating precise lines and masterful strokes, making it essential to practice regularly. With consistent effort, you can refine your skills and achieve professional-looking results.
Practicing Regularly and Building Muscle Memory
To build muscle memory and improve hand-eye coordination when drawing with pens, regular practice is essential. Set aside a specific time each day or week to dedicate to pen drawing, even if it’s just 15-20 minutes. Consistency is key here – the more you draw, the more your hand will adapt to the motion of holding a pen and moving it across paper.
One exercise to help develop muscle memory is the “dotting” drill. Hold a pen at a 45-degree angle and focus on making small dots on a piece of paper. Try to maintain a consistent distance between each dot, increasing the number of dots as you become more comfortable. This simple exercise helps improve fine motor skills and hand-eye coordination.
Another essential aspect of regular practice is experimenting with different techniques and styles. Don’t be afraid to try new things – even if it means making mistakes. The more you experiment, the more your brain will learn to associate certain actions with specific outcomes, ultimately leading to improved muscle memory and drawing skills.
Overcoming Common Challenges and Frustrations
When working with pens, it’s common to encounter issues like ink bleeding through paper, uneven lines, and a lack of confidence. To tackle these challenges, let’s start with the most immediate problem: ink bleed. This can be caused by using the wrong type of pen for the paper, or applying too much pressure. Try switching to a pen specifically designed for use on your paper type, or experiment with lighter touch.
Another issue is uneven lines, which often stem from inconsistent line weight or wavering hand movement. Practice drawing with a ruler or straightedge to develop steady lines, and focus on developing muscle memory through regular practice. To build confidence, start by practicing simple exercises like hatching and cross-hatching, gradually increasing the complexity of your subjects.
To avoid uneven lines altogether, try changing your grip or pen angle. You might find that holding the pen at a 45-degree angle or switching to a pen with a comfortable ergonomic design helps reduce hand fatigue and promotes consistent line quality.
Using Pens for Specific Drawing Tasks
When working on specific drawing tasks, you’ll find that different pens are better suited for various techniques and styles. We’ll explore some of these specialized uses next.
Illustration and Cartooning
When it comes to illustration and cartooning with pens, creating engaging characters is a crucial aspect. To achieve this, focus on defining their personality through expressive facial features and body language. Use bold lines for dramatic poses or subtle curves for more relaxed moments. Consider the character’s environment as well; a cluttered background can add to their story, while an empty one can make them stand out.
To create visually appealing backgrounds, think about the atmosphere you want to convey. For example, a busy cityscape can be achieved with quick hatching lines and a range of values, while a serene landscape might require more gentle shading. Remember to balance details so the background doesn’t overwhelm your main subject.
Props also play a significant role in telling the story. Keep them simple yet distinctive to avoid cluttering the composition. For pacing and storytelling, experiment with visual flow by varying line weights, textures, and sizes. Practice drawing scenes from both dynamic and static angles to add depth and interest.
In terms of tips, use reference images sparingly to avoid relying on pre-existing art. Instead, observe people, nature, or architecture to create original characters and settings. Experiment with different tools and techniques to find what works best for you.
Journaling and Sketchbook Work
Using pens for journaling and sketchbook work offers a unique combination of creative expression and personal reflection. When incorporating pen drawing into daily practice, consider dedicating a specific section in your notebook or sketchbook to pen work. This could be as simple as setting aside a single page each day for loose sketches or experimenting with different styles.
Explore various techniques, such as cross-hatching, stippling, or gestural drawing, to add texture and visual interest to your journal pages. You can also try incorporating doodles, patterns, or small illustrations throughout your entries. For example, use pens to create a decorative border around a particularly meaningful quote or sketch out a simple cartoon character.
Some popular styles for pen-based journaling include abstract expressionism, minimalist linework, and mixed-media collage. Feel free to experiment with different ink flows, tip sizes, and paper textures to discover what works best for you. As you develop your skills, don’t be afraid to push the boundaries of traditional journaling and sketchbook work – after all, the beauty of drawing with pens lies in its flexibility and adaptability.
Conclusion: Continuing Your Pen Drawing Journey
As you’ve now mastered the basics of drawing with pens, it’s time to think about how to take your skills to the next level and continue growing as an artist. Let’s explore ways to keep improving and expanding your pen drawing abilities.
Resources and Inspiration
To continue your journey with pen drawing, it’s essential to explore various resources and inspiration. For those looking to improve their skills, I recommend checking out books like “The Art of Drawing with Pens” by [Author] and “Pen and Pencil Techniques” by [Author]. These books offer in-depth guidance on mastering various techniques and styles.
Online courses are another excellent way to learn new skills and stay up-to-date with the latest trends. Websites like Skillshare, Craftsy, and New Masters Academy often feature classes specifically focused on pen drawing. You can also find online communities like Reddit’s r/penart and r/art, as well as social media platforms dedicated to sharing pen drawings.
To stay motivated and inspired, try setting aside time each week to explore different styles and techniques. Experiment with new pens, paper, and inks to discover what works best for you. Look for inspiration online or in local art communities – sometimes seeing the work of others can spark a new idea.
Encouragement and Challenges Ahead
As you near the end of this comprehensive guide to drawing with pens, we hope you’re feeling invigorated and inspired to continue exploring the world of pen art. Remember, mastering the art of pen drawing is a lifelong journey, and it’s essential to keep practicing and experimenting to stay on track.
Don’t be afraid to push beyond your comfort zones and try new techniques, styles, or mediums. This is where the real magic happens – when you take risks and step outside your usual routine. For instance, if you’re used to working with fine-tip pens, try switching to a brush pen or a marker for a change of pace. You might be surprised at the unique effects and textures you can achieve.
To keep your skills sharp, make time for regular practice sessions, even if it’s just 15-20 minutes a day. Set aside dedicated time for experimenting with new techniques and styles – this is where you’ll discover what truly works for you. And when faced with challenges or frustrations, take a step back, breathe, and remind yourself why you started drawing in the first place: for the joy of creating something beautiful.
Frequently Asked Questions
Can I use pens with arthritis or hand mobility issues?
Yes, many pens come with ergonomic designs and comfortable grips that can be suitable for people with arthritis or limited hand mobility. Look for pens with contoured handles, cushioned grips, or adjustable grip sizes to find one that fits your needs.
How do I achieve consistent ink flow when using a fountain pen?
Achieving consistent ink flow with a fountain pen requires regular maintenance, such as cleaning and flushing the nib, ensuring the ink is not too thick or too thin, and adjusting the pressure on the paper. Experimenting with different ink brands and types can also help you find one that flows consistently.
What if I accidentally smudge my work while it’s still wet?
Yes, this can happen to anyone! To avoid smudging, try working in a well-ventilated area or using a fan to speed up the drying process. You can also use a hair dryer on a low setting to gently dry your work without damaging the paper.
How do I know when it’s time to switch from a fine-tip pen to a brush pen?
The decision to switch depends on the specific project and your personal preference. Generally, if you’re working on detailed illustrations or fine lines, a fine-tip pen is suitable. However, if you want to achieve broader strokes, expressive textures, or softer blends, a brush pen might be more effective.
Can I use pens for mixed-media art projects involving paint or collage?
Yes, many artists successfully combine pen drawing with other media like paint or collage. When layering different materials, consider the weight and texture of each element to ensure they work together harmoniously. Experiment with different techniques, such as using a fixative to secure your pen lines before adding paint or glue.