Drawing is an essential skill that allows you to express yourself creatively. Whether you’re an aspiring artist or someone looking to tap into your creative side, mastering the basics of drawing can unlock new forms of artistic expression and improve your overall skills. However, many people struggle with where to begin – understanding the different types of drawing techniques, selecting the right tools, and developing a solid foundation for creating confident artworks. In this comprehensive guide, we’ll cover everything from basic sketching and shading techniques to exploring various mediums and materials. We’ll also explore how to choose the right tools for your needs, helping you get started with confidence. By the end of this article, you’ll have gained a solid understanding of the fundamentals of drawing and will be well on your way to improving your artistic skills and expression.
Understanding the Basics of Drawing
When starting from scratch, it can be overwhelming to know where to begin with drawing basics. In this section, we’ll break down the fundamentals you need to get started.
What is Drawing?
Drawing is a fundamental aspect of art-making that allows artists to convey their emotions, ideas, and experiences through various techniques. At its core, drawing is a means of visual expression, where an artist uses lines, shapes, values, and textures to create a visual representation of the world around them.
When used for artistic purposes, drawing can be a powerful tool for self-expression and communication. Artists use drawing to convey their thoughts, feelings, and experiences in a way that transcends words. For example, a painter may use bold brushstrokes and vibrant colors to express their emotions about a particular subject, while a sketch artist may use delicate lines and subtle shading to capture the subtleties of human expression.
Drawing can also be used as a means of communication, where artists use visual language to convey information or tell stories. Cartoonists, illustrators, and comic book artists all rely on drawing to bring their ideas to life and engage their audiences. As you begin your own journey into drawing, remember that it’s not just about creating something visually appealing – it’s also about using this medium as a tool for self-expression and communication.
Types of Drawing
Graphic drawing involves creating precise and detailed images using a range of techniques, including hatching and cross-hatching. This style is often used in architectural drawings, technical illustrations, and cartoons. Freehand drawing, on the other hand, is a more expressive and spontaneous approach that allows artists to capture their ideas quickly without worrying about precision.
Mixed media drawing combines different materials and techniques to create unique and textured pieces. For example, an artist might use paint, ink, or pastels alongside traditional pencils and charcoal. Understanding these different styles can help beginners choose the best method for their needs and goals.
Graphic drawing is ideal for creating detailed plans and technical drawings, while freehand drawing suits those who want to quickly capture their ideas. Mixed media drawing offers endless possibilities for experimentation and creativity. When choosing a type of drawing, consider what you want to achieve and how much time and effort you’re willing to invest.
Choosing the Right Tools
When it comes to getting started with drawing, having the right tools can make all the difference. In this next part of our beginner’s guide, we’ll explore what you need to know about selecting the perfect pencils and other essentials.
Pencils and Erasers
When it comes to drawing, a set of high-quality pencils and erasers is essential. Graphite pencils are the most common type used for drawing and are available in various hardness levels, ranging from 6H (very hard) to 9B (very soft). Understanding how to choose the right pencil hardness for your work is crucial, as it affects the line quality and detail level.
For example, a 2H pencil is suitable for fine details and subtle shading, while a 4B pencil is better suited for bold lines and expressive strokes. Charcoal pencils are also an option for drawing, offering a softer, more expressive mark. However, they can be messy and require frequent sharpening.
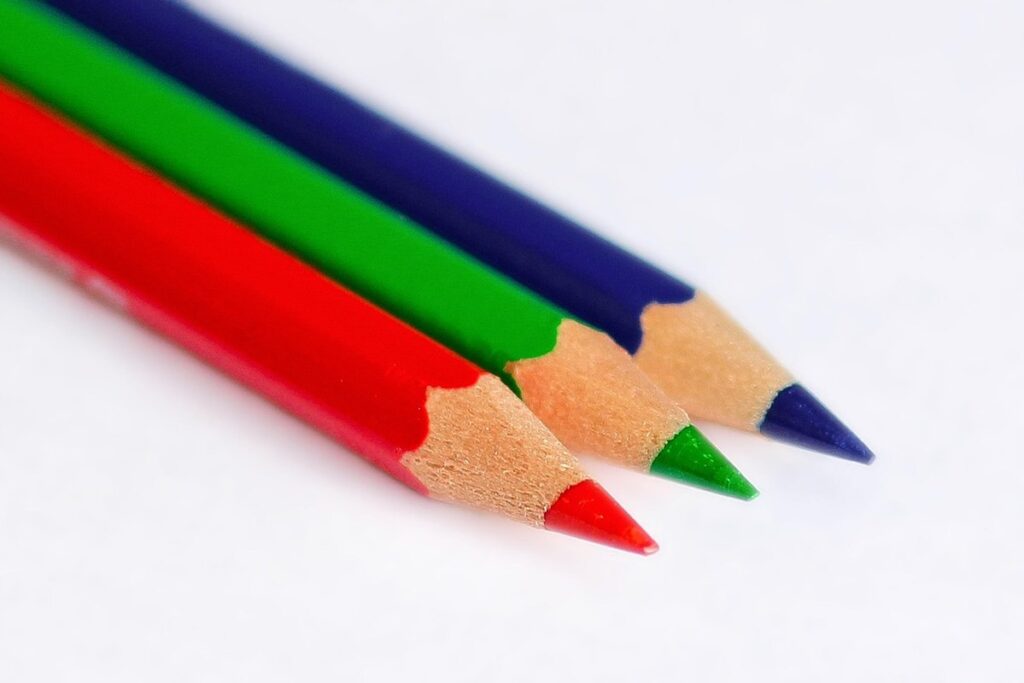
Colored pencils can add color to your artwork but are often used for more detailed work, such as illustrations or portraits. When selecting pencils, consider the surface you’ll be working on – a harder pencil may be necessary for smooth paper, while a softer one is better suited for rougher surfaces. Lastly, don’t forget about erasers – kneaded rubber erasers are great for correcting mistakes and creating subtle texture effects, while white vinegar erasers are ideal for removing stubborn marks.
Paper and Surfaces
When choosing a paper or surface for drawing, it’s essential to consider its texture, weight, and absorbency. Look for papers labeled as “hot press” or “cold press,” which refer to the surface texture created by pressing the cotton or linen fibers onto the paper during production. Hot press papers have a smooth finish, ideal for detailed work and fine lines, while cold press papers offer a more textured surface suitable for expressive brushstrokes and loose drawing.
Bristol board is another popular option, offering a range of textures from very smooth to highly textured. Its durability makes it an excellent choice for projects requiring multiple layers or erasure without damage. For digital drawing or mixed media experiments, consider using tracing paper, vellum, or even the backside of printed maps – these provide a unique texture and can add interesting effects.
When working with surfaces other than traditional paper, consider their characteristics. Canvas and board are more durable but may require specific mediums or tools to achieve desired results. Experimenting with different papers and surfaces will help you discover what works best for your style and technique.
Basic Drawing Techniques
To get started with drawing, you’ll need a solid foundation of basic techniques, such as understanding perspective and mastering various line styles. These essential skills will form the building blocks of your artistic creations.
Lines and Shapes
To draw effectively, it’s essential to master basic lines and shapes. Straight lines are created by moving your pencil in a single, continuous motion without lifting it from the paper. Curved lines can be achieved by applying gentle pressure and gliding your pencil across the surface. Diagonal lines involve drawing from one corner of the sheet to the opposite corner.
Shapes, such as circles, squares, and triangles, provide the foundation for creating simple forms. Practice drawing these shapes freehand, paying attention to their proportions and angles. Circles can be drawn by revolving a compass or using a circular motion with your pencil. Squares are made up of four right angles, while triangles have three sides and two angles.
When drawing lines and shapes, pay attention to the size and scale of each element. Practice combining different lines and shapes to create simple forms, such as cylinders from circles and rectangles from squares. This will help you develop your skills in creating more complex drawings.
Values and Shading
When creating values and shading in a drawing, artists aim to capture the way light interacts with their subject. This is achieved by applying varying degrees of darkness and lightness across the artwork. Start by observing the overall value structure of your scene: identify the areas that are in shadow, mid-tone, and highlight.
To establish a range of values, use simple shapes to block out the major areas of light and dark. For example, a sphere can be divided into three main sections: the lighter area where the light source is positioned, the middle tone where the subject’s form begins to take shape, and the darker area in shadow. As you progress, introduce more nuanced shading by varying line weight and texture.
Shading techniques include hatching (parallel lines that follow the contours of a subject) and cross-hatching (layers of hatching that create deeper, more complex tones). Experiment with different angles and pressures to achieve unique textures and effects. Remember that values and shading are not just about creating realism; they also contribute to the overall mood and atmosphere of your artwork.
Perspective and Proportion
Perspective helps us create the illusion of depth on a flat surface, while proportion ensures that our drawings are accurate and true to life. Mastering these fundamentals is essential for creating believable artwork.
One-Point Perspective
When drawing one-point perspective, you’re creating a visual illusion by making parallel lines appear to converge at a single vanishing point on the horizon line. This technique is useful for drawing roads, corridors, and other elongated forms that recede into the distance.
To apply one-point perspective effectively, start by placing your paper horizontally and imagining a vertical line down the center of the sheet. Position the vanishing point on this line, about two-thirds of the way from one edge of the paper. Draw lines that radiate out from the vanishing point to create the illusion of depth.
When drawing buildings or other structures with a clear front face, use a grid system to help you place the lines correctly. Divide your paper into squares and draw vertical lines along each square’s edges, converging at the vanishing point. This will help you achieve a more convincing perspective. Remember that one-point perspective works best for scenes where there is a clear dominant axis or path of sight.
Multi-Point Perspective
When drawing a scene that includes multiple buildings, roads, or other features extending out from the viewer, multi-point perspective comes into play. This technique allows you to create a more realistic and complex composition by introducing additional vanishing points.
To apply multi-point perspective, identify at least two main lines of sight – one for each vanishing point. For example, if drawing a cityscape with a road leading out from the viewer and another building in the distance, identify two separate vanishing points along these lines. Draw multiple converging lines to create depth and volume.
Notice how the converging lines appear more subtle than those found in one-point perspective drawings. This is because multiple vanishing points distribute the convergence over a larger area of space, creating a more nuanced sense of depth. Practice identifying and using multiple vanishing points to enhance your ability to draw realistic scenes with complex perspectives. When drawing buildings or other features that extend from the viewer, consider introducing an additional vanishing point for greater accuracy.
Advanced Techniques
Now that you’ve mastered the basics, it’s time to take your skills to the next level by exploring more complex techniques for adding depth and emotion to your drawings.
Texture and Pattern
To add texture and pattern to your drawings, you can use various techniques such as hatching, cross-hatching, and stippling. Hatching involves creating parallel lines that follow the contours of an object or area, while cross-hatching involves layering hatching lines at different angles to create a more textured look.
Stippling is another technique used to create patterns by using small dots in varying densities. The closer the dots are together, the darker the resulting area will appear. You can use a fine-tip pen or a stylus with a dotting tool to achieve this effect.
When applying texture and pattern, it’s essential to consider the subject matter and the mood you want to convey. For example, rough textures might be suitable for a landscape drawing of a rocky terrain, while smooth patterns could work well for a still-life depiction of glassware.
To get started with hatching and cross-hatching, begin by lightly sketching the overall shape and contours of your subject using a soft pencil. Then, switch to a fine-tip pen or a technical drawing tool to create hatching lines that follow the curves and edges of the object. For stippling, start by creating a loose grid over your drawing area and then fill in the spaces with dots using a dotting tool or a small ballpoint pen.
Composition and Layout
When composing a drawing, balance is crucial to create visual harmony. This doesn’t mean everything must be symmetrical; instead, it’s about distributing visual weight across the page. Think of it like a scale: too much emphasis on one side can tip the balance and make the piece feel off-kilter.
To achieve balance, consider using contrasting elements such as light and dark values or warm and cool colors. For example, placing a bright object against a darker background creates a natural visual anchor that draws the viewer’s eye.
Visual flow refers to how the viewer’s gaze moves through the composition. This can be achieved by creating clear pathways for the viewer’s eye to follow. One way to do this is by using leading lines or shapes that guide the viewer through the piece.
Principles of composition, such as the rule of thirds and the golden ratio, can also help create visually appealing drawings. The rule of thirds involves dividing the page into thirds both horizontally and vertically, placing important elements along these lines. This creates a balanced composition with visual interest.
Practice and Improvement
As you continue to develop your drawing skills, it’s essential to focus on consistent practice and self-assessment to refine your techniques and overcome common mistakes. Regular reflection will help you identify areas for improvement.
Setting Goals and Challenges
When setting goals and challenges for yourself as a beginner artist, it’s essential to strike a balance between pushing yourself creatively and maintaining a sense of accomplishment. Start by identifying areas where you need improvement – perhaps you struggle with proportions or facial expressions. Set specific, measurable targets, like mastering one-point perspective in a week or accurately depicting texture in your next piece.
Beginners often get discouraged when their work doesn’t meet their high expectations. To avoid this, set achievable milestones that allow for growth and learning. Break down larger goals into smaller tasks: instead of aiming to draw a realistic landscape, start by practicing basic shape forms and values. A good way to challenge yourself is to recreate famous artworks or try drawing from life – this will help you develop your observation skills.
To make the most of these exercises, focus on one skill at a time. Don’t worry if your early attempts look awkward; it’s all part of the learning process. Keep track of your progress by documenting each session and reflecting on what works best for you.
Experimenting with Different Media
Experimenting with different media is a crucial aspect of developing your drawing skills. By exploring various tools and techniques, you can discover new ways to express yourself creatively and expand your artistic range. Start by trying out pencils with varying hardness levels – from soft 6B for rich blacks to hard 9H for fine details. Next, experiment with charcoal, which offers a range of tonal values and textures. For example, use compressed charcoal for bold strokes or vine charcoal for delicate shading.
Ink is another versatile medium that can add depth and character to your drawings. Try using a dip pen or a brush pen to create expressive lines and varied line widths. You can also experiment with different ink densities by layering or blending them. When working with new media, pay attention to their unique characteristics – for instance, pencils may require more pressure or smoother strokes than you’re used to. Be patient and allow yourself time to adjust to the new tools and techniques. Remember, experimentation is a key part of the learning process, and it’s essential to have fun and enjoy the discovery of new creative possibilities.
Frequently Asked Questions
How long does it take to see noticeable improvement in drawing skills?
It’s normal for beginners to feel frustrated with slow progress, but consistent practice and setting achievable goals can help. With regular effort (20-30 minutes daily), you may start noticing improvements within a few weeks.
Can I mix different drawing styles or techniques in one piece of art?
Yes, combining multiple styles or techniques is encouraged, as it allows for experimentation and creative expression. For example, using graphic drawing for the outline and freehand drawing for details can create unique textures and effects.
What if I’m struggling with shading and creating smooth transitions between values?
To overcome this challenge, practice observing light sources and how they interact with different surfaces. Experiment with various shading techniques (hatching, cross-hatching, stippling) to find what works best for you, and always pay attention to the edges of your subjects.
How do I know when a piece is ‘finished,’ or when to stop drawing?
Determining completion can be subjective, but look for visual balance, clarity, and cohesion. When you feel satisfied with the composition, details, and overall impact, it’s likely finished. Remember that perfection is not necessary – sometimes, stopping too soon means your art may lack depth.
What if I’m unsure about choosing between one-point or multi-point perspective?
Consider the scene’s complexity and the desired level of realism. For simple compositions, one-point perspective might be sufficient, while more intricate scenes may require multi-point perspective for a more accurate representation.